 by
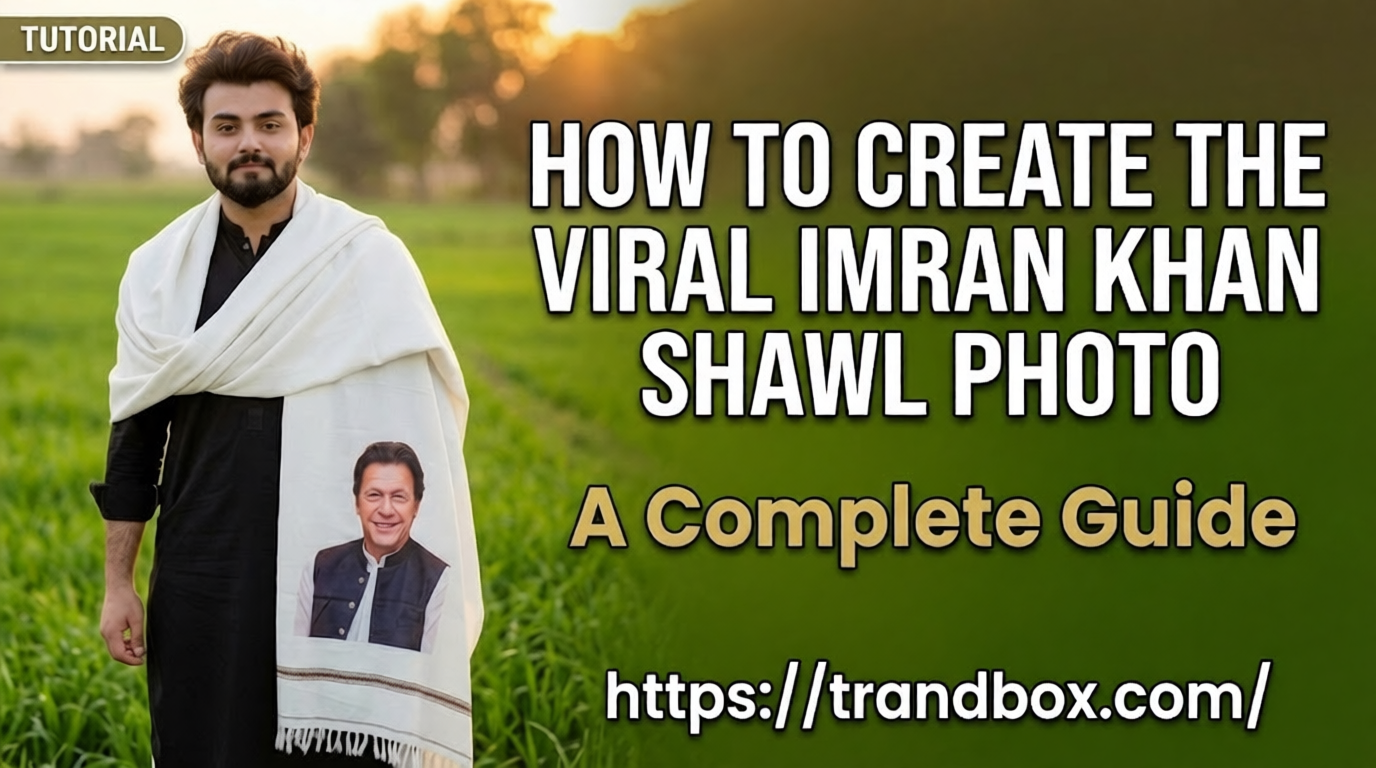
by If you have spent any time on TikTok, Instagram, or X recently, you have definitely seen it. That hyper-realistic, gritty, cinematic image of a familiar political figure—often Imran Khan—wrapped in a heavy winter shawl, looking intensely into the camera or staring off into a moody, dimly lit background.
The aesthetic is incredibly popular, and naturally, you want to make your own versions. Maybe you want to use them as backgrounds for poetry (Shayari), motivational quotes, or just to share with your community.
But if you are reading this, you already know that simply opening an AI generator and typing a basic request doesn’t work. You run into safety filters, weirdly smooth “plastic” faces, and shawls that look like cheap bedsheets.
You mentioned you already have your own text prompts ready to go. That is perfect. The prompt is only 20% of the battle anyway. The real magic—the difference between a cheap-looking AI generation and a viral masterpiece—lies entirely in the execution, the workflow, and the post-processing.
As someone who spends hours testing and breaking down AI image workflows, I am going to walk you through the exact, step-by-step technical process of creating this specific viral look using Google Gemini and a few basic editing tools. No fluff, just the actual buttons to click and mistakes to avoid.
Phase 1: Setting Up for Success (The Right Interface)
Before you paste a single word of your prompt, you need to be in the right environment.
Desktop vs. Mobile
While the Gemini mobile app is great for quick questions, I highly recommend doing this work on a desktop or laptop browser. The viral shawl images require you to use selective editing tools (which we will cover shortly). Trying to highlight a specific fold of a chadar (shawl) using your thumb on a small phone screen is an incredibly frustrating experience. Give yourself the screen space to see the details.
Understanding the Engine (Nano Banana 2 and Pro)
When you use Gemini to generate an image, you are tapping into a model called Gemini 3 Flash Image (technically known under the hood as Nano Banana 2). It is exceptionally fast and produces great lighting.
However, if you are on a paid tier (AI Plus, Pro, or Ultra), you have a massive advantage. You get access to the “Pro” upscaling feature. This is the absolute secret weapon for getting the heavy, realistic texture of the wool shawl. If you use the free tier, your image will still look good, but the paid tier workflow is what creates those mind-blowing, highly detailed results.
Phase 2: The Generation Workflow
Now that you are at your desk with your custom prompts ready, here is how you actually run them through the system to avoid getting blocked or generating useless formats.
Step 1: Bypassing the Guardrails (The Philosophy)
Even though you have your own prompts, remember the golden rule of AI generation right now: Gemini has strict safety filters regarding real, living public figures. If your prompt includes specific names, political parties, or highly sensitive current events, the AI will throw up a red error message telling you it cannot help with that request.
When you paste your prompt, watch how the AI reacts. If you get blocked, don’t panic. Just edit your prompt to remove the specific names. Focus entirely on the physical characteristics (e.g., age, hair type, facial structure) and the clothing. Treat the AI like a sketch artist who doesn’t watch the news. Just describe the visual elements, and let the engine do the rest.
Step 2: Forcing the Right Aspect Ratio
A massive mistake beginners make is letting Gemini decide the shape of the image. By default, it spits out a square (1:1 ratio). If you take a square image and put it on a TikTok or Instagram Reel, the platform adds massive, ugly black bars to the top and bottom. It kills the viral vibe instantly.
You must append a formatting command to the very end of your custom prompts.
-
For Short-form Video (TikTok/Reels): Add
Ensure the image is in a vertical 9:16 aspect ratio. -
For YouTube Thumbnails: Add
Ensure the image is in a horizontal 16:9 aspect ratio.
Step 3: Generating and Selecting the Base
Paste your prompt and hit generate. Gemini will give you a few variations.
Do not look for the perfect image here. Look for the best composition and lighting. Pay attention to how the shadows fall across the face. If the face looks perfectly stoic and cinematic, but the shawl is the wrong color or looks too thin, pick that image anyway. We are going to fix the shawl in the next step.
Step 4: The “Redo with Pro” Hack (Premium Users Only)
If you are using a paid tier, this is where you elevate the image.
-
Click on the best image from the batch to open it in full-screen view.
-
Look for the three-dot menu icon.
-
Click it and select “Redo with Pro”.
The system will take your base image and run it through a heavier processing cycle. You will watch the skin gain actual pores and wrinkles, and the shawl will suddenly look thick, heavy, and incredibly realistic.
Phase 3: The In-Painting Masterclass (Fixing Mistakes)
AI rarely gets everything right on the first try. Maybe the background looks too modern, or maybe the subject’s hands (if visible) look distorted. This is where you use Gemini’s “Modify” tool, which is an in-painting feature.
Instead of rolling the dice and generating a whole new image from scratch, you keep the parts you like and redraw the parts you hate.
How to use the Image Edit Tool:
-
With your generated image open, click the Modify tool (it usually looks like a small brush or a lasso selection icon).
-
Your mouse cursor will turn into a highlighter.
-
Carefully draw a circle over the specific element you want to change. For example, if you want to make the shawl look heavier, highlight only the shawl. Do not let the highlighter touch the subject’s face.
-
A new, smaller text box will appear.
-
Type a very short, direct instruction just for that highlighted area. (e.g.,
Make this fabric dark charcoal wool with heavy, thick folds). -
Hit enter.
Gemini will redraw only that specific section, leaving your perfect cinematic lighting and facial structure completely untouched. You can repeat this process to fix weird fingers, change the background from a modern room to a historical stone wall, or alter the color of the clothing.
Phase 4: The “Viral Polish” (External Post-Processing)
This is the most critical step that separates the amateurs from the creators who go viral. Images straight out of an AI generator usually look a little too clean, bright, and slightly “plastic.” The aesthetic you are chasing is dark, moody, gritty, and weathered.
You need to take your downloaded Gemini image and put it into a photo editor. You don’t need expensive software; the free mobile app Snapseed (owned by Google) is widely considered the best tool for this exact job.
Here is my exact, battle-tested editing workflow in Snapseed to get that viral look:
1. Enhancing the Textures (Structure)
The shawl is the centerpiece of the image, so we need to make it pop.
-
Open your image in Snapseed and go to Tools > Details.
-
Swipe up to select Structure, then swipe right to increase it to about +20. This aggressively enhances the threads of the wool and the weathered lines on the subject’s face.
-
Add a tiny bit of Sharpening (around +10) to make the eyes piercing.
2. The Cinematic Color Grade (Moody Lighting)
Viral AI art is rarely colorful. It feels like a scene from a dramatic movie.
-
Go to Tools > Tune Image.
-
Drop the Saturation to -15 or -20. You want the colors to feel slightly drained and faded.
-
Increase the Contrast to +15. This makes the dark shadows darker and the bright areas brighter, adding immediate drama.
-
If the face looks too bright or glowing, drop the Highlights to -10.
-
Slightly raise the Ambiance to +5 just to ensure the details in the dark background aren’t completely lost.
3. Killing the “AI Look” (Adding Grain)
AI generates perfectly smooth, mathematically flawless pixels. Real cameras do not. Real cameras introduce subtle visual noise, especially in low light.
-
Go to Tools > Grainy Film.
-
Pick a subtle filter (usually the first or second option) and dial the Grain strength down to about 15%. You don’t want it to look like a broken TV, you just want to trick the human eye into thinking this was shot on actual 35mm film stock.
4. Directing the Eye (Vignette)
You want the viewer’s absolute focus to be on the subject’s intense expression and the heavy shawl, not the background.
-
Go to Tools > Vignette.
-
Slightly darken the Outer Brightness (around -30). This creates a subtle shadow border around the edges of the image, acting like a spotlight that forces the viewer to look dead center.
Phase 5: Exporting Without Losing Quality
You have spent all this time generating, upscaling, in-painting, and color-grading your image. The worst thing you can do now is let a social media app crush your file quality.
Platforms like TikTok, Instagram, and WhatsApp use aggressive compression algorithms to save server space. If you upload a massive, uncompressed file, they will compress it forcefully, which often results in a blurry, pixelated mess.
The Golden Rule for Exporting: When you save your final image from Snapseed or Lightroom, export it as a high-quality JPEG. If your goal is a vertical video format (like a Reel or TikTok), you want the final resolution to be exactly 1080 x 1920 pixels.
This specific resolution is the native size for modern phone screens. When you upload a file that is already perfectly sized, the social media platforms will apply minimal compression, preserving all the heavy wool textures, the film grain, and the cinematic lighting you worked so hard to build.
Creating these images is a highly technical art form. By strictly following this workflow—bypassing guardrails through descriptive language, utilizing selective editing, and applying a gritty, cinematic color grade—your custom prompts will consistently yield results that command attention and capture that specific viral energy.